Teeth Whitening | Three Steps to a Beautiful Smile

If you want to achieve a beautiful smile with teeth whitening, you may be wondering what the process is? In this blog, we have outlined what you can expect before, during and after treatment as well as some instruction on what you can do to help achieve the best results possible during each stage of the process.
Step one: Discussion and examination
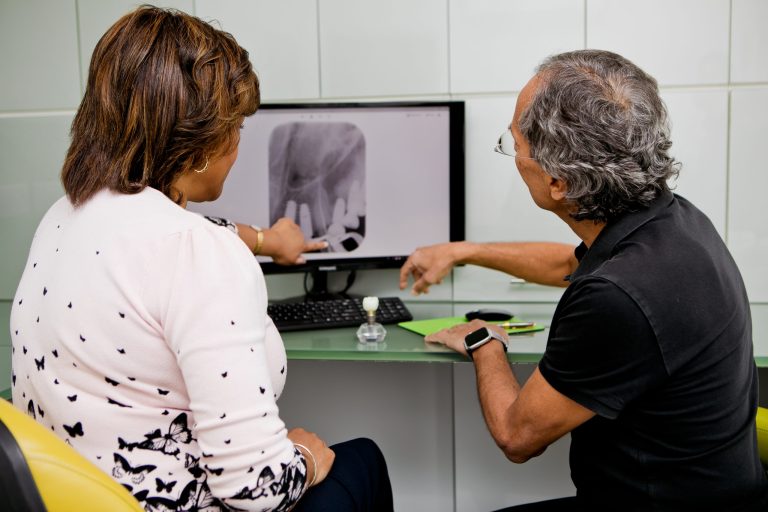
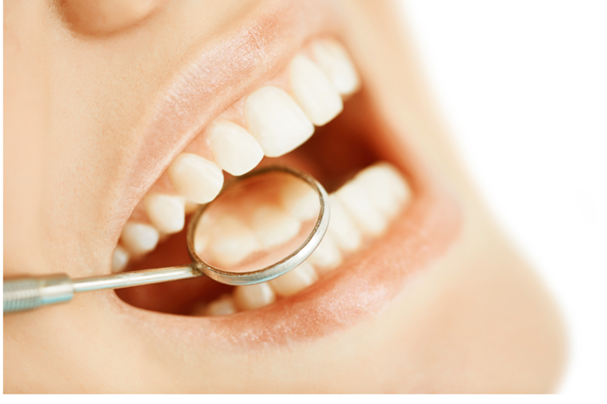
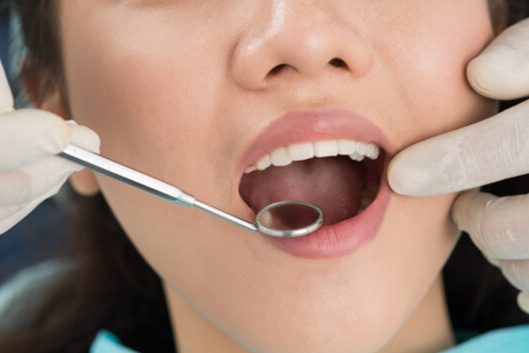
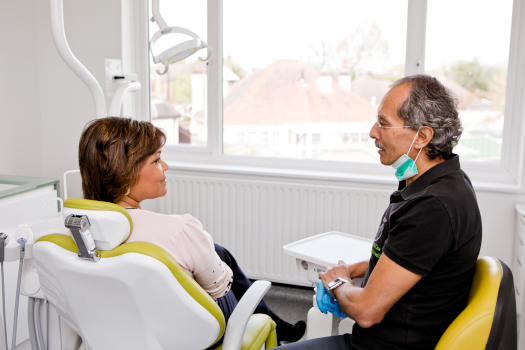
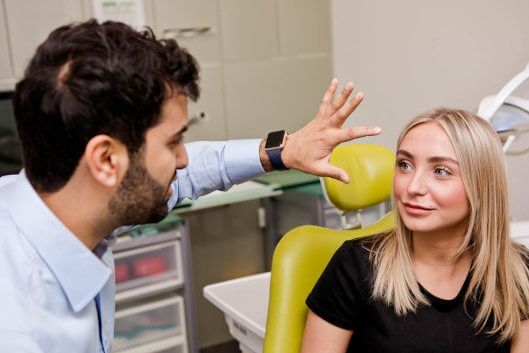
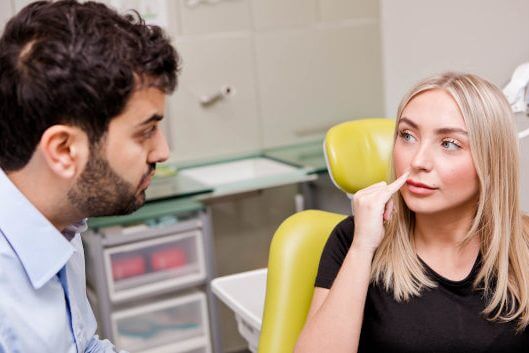
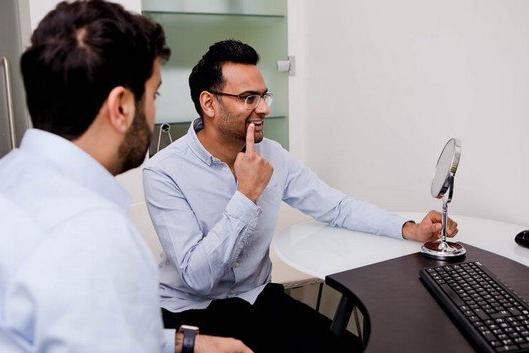
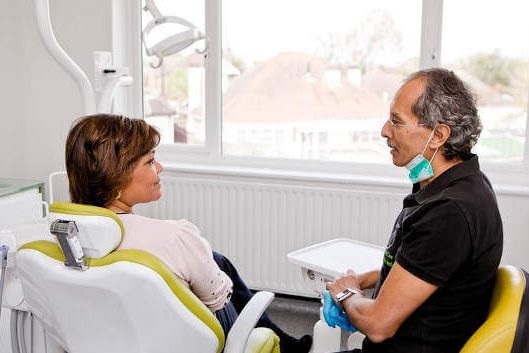
Before you decide to proceed with teeth whitening treatment it’s good to find out more about the procedure. Your first appointment should be for a consultation and general check-up. As always before going ahead with cosmetic treatments, your teeth and gums must be in a good condition. We’ll also discuss your main goals to confirm if whitening is the right solution for you as in some cases, the dentist might advise alternatives. There are some cases where whitening may not be a good choice. A few reasons against whitening include active tooth decay, gum disease, sensitivity or in some cases where more advanced restorative procedures may be appropriate. We generally advise against tooth whitening if you’re pregnant, breastfeeding or under 18 years old.
Step two: creating an accurate model of your teeth
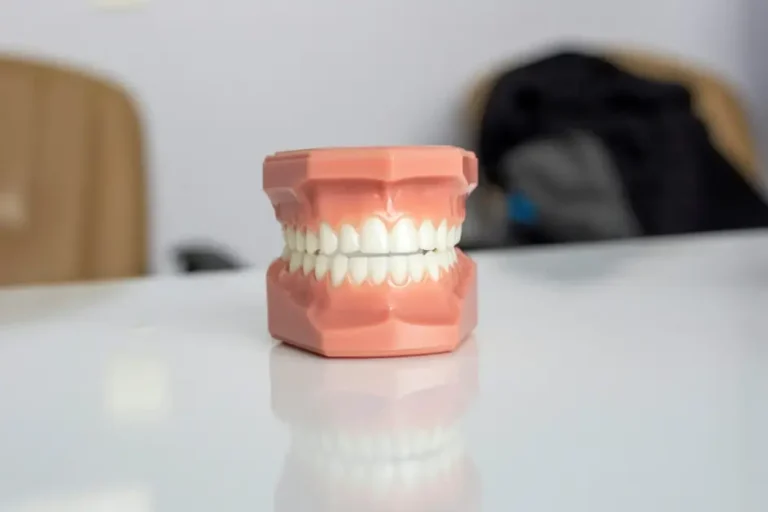
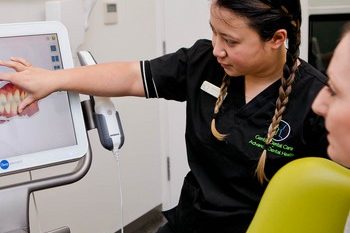
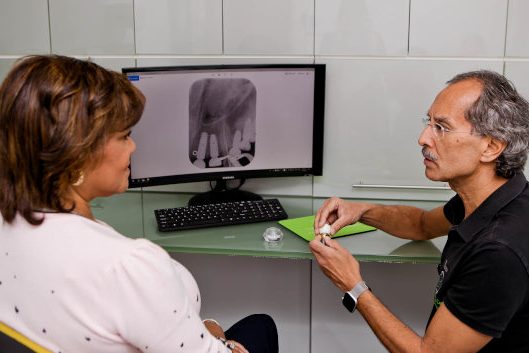
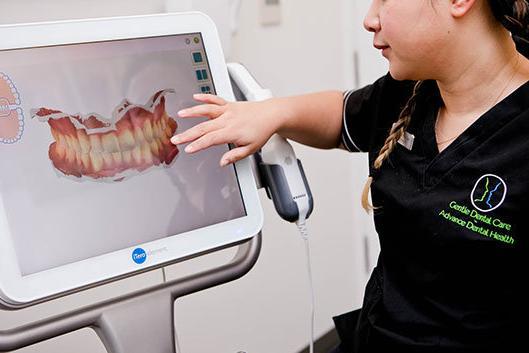
If it is confirmed that whitening is the right choice for you, the next step would involve creating an accurate model of your teeth by either taking impressions or by the use a new digital scanner.
If you have deposits of calculus, we recommend your see the dental hygienist first as these deposits can rapidly neutralise dental bleach leading to poorer outcomes. The hygienist appointment could be before or after the impressions/scan depending on the circumstances.
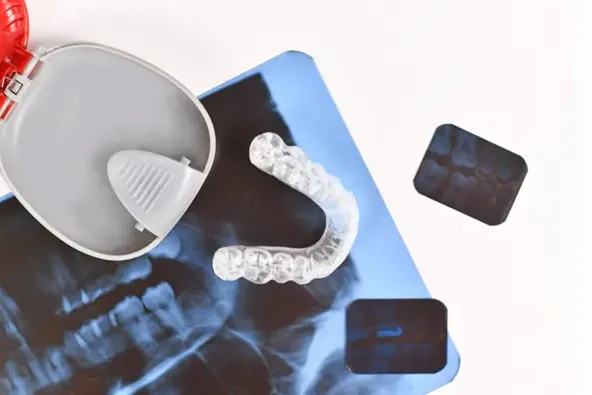
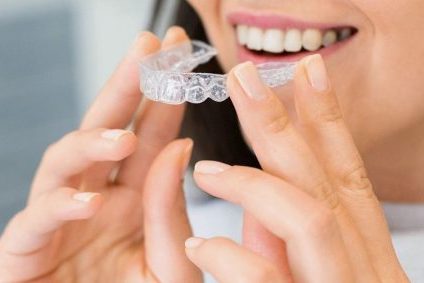
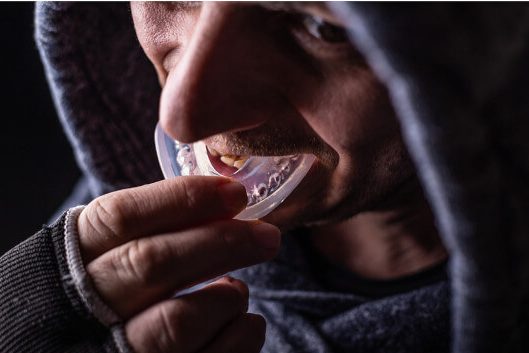
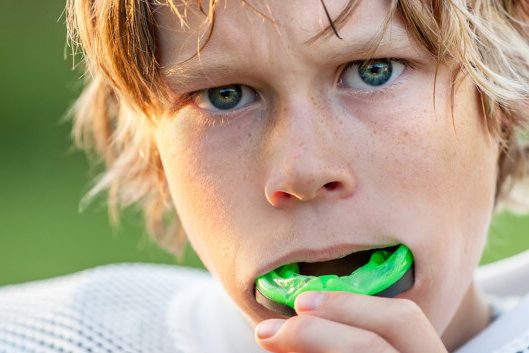
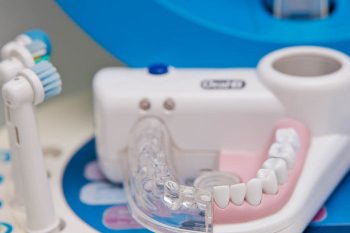
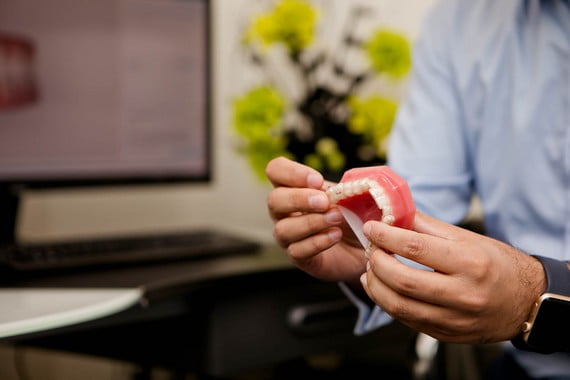
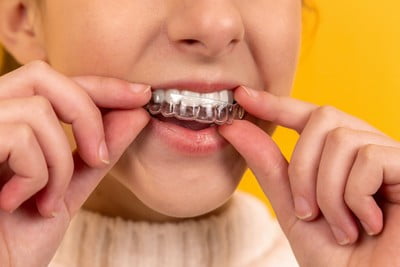
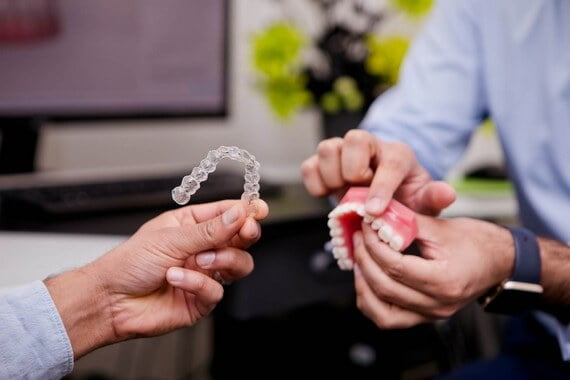
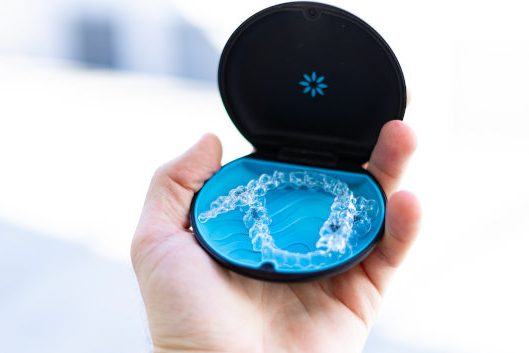
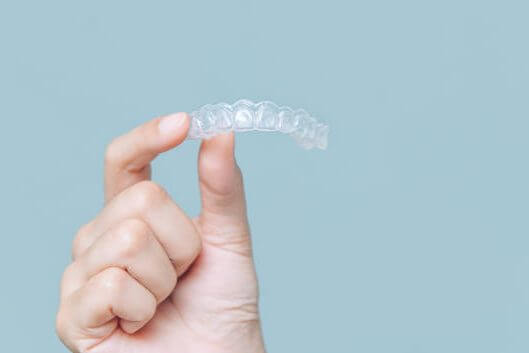
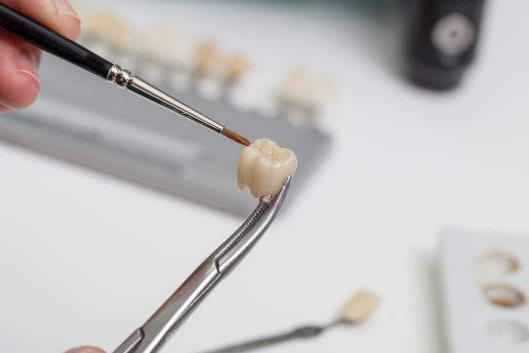
An expert dental technician will then make a clear bleaching tray designed specifically for you. The bleaching trays must fit well and have a great seal as they are designed to hold the dental bleach against the tooth. If they don’t fit well or have a poor seal, saliva will get underneath and wash the bleach away reducing the effectiveness of treatment.
Step three: Fitting bleaching trays
It normally takes around a week to get the trays back. This appointment is very important as we will provide you with everything you need to finish the process off.
Your dentist will make sure that your trays are fitting perfectly and that the seal is good. Your whitening kit includes:
- 16% carbamide peroxide gel 5ml
- 10% carbamide peroxide gel 5ml
- desensitizing swab
- instructions
Using Enlighten tooth whitening at home
One of our team members will go through the instructions with you to ensure you understand the procedure fully. If you forget anything, don’t worry you will be provided with written instructions and we have also made you a video on how to use Enlighten tooth whitening at home.
You will be leaving the practice with whitening trays, whitening kit and a full knowledge of how to use the gels and what to expect.
Here are a few tips on what you can do before, during and after whitening treatment to ensure the best result possible.
Before whitening:
- After your last meal brush and floss your teeth to ensure your teeth are clean.
- Open a tube of whitening gel.
- Apply a very small amount of gel on each tooth inside your whitening tray, you can use the tip to spread the gel equally on the tray.
- Make sure you do not put too much gel on your trays, as your trays are designed to fit your teeth perfectly. Whitening gel will spread on gums if you apply too much.
- Once you have applied the gel on your trays, gently fit the trays on your teeth.
- You can use tissue or cotton buds to remove excess gel that flows out of the trays.
- After use keep the gels in the fridge.
- Do not eat, drink or smoke while wearing whitening trays.
- In case of any sensitivity – remove your trays.
- We generally recommend you whiten your teeth at night-time.
After whitening:
- Gently remove your whitening trays.
- Clean you trays with cold water.
- Use a soft toothbrush to remove gel or debris from your trays.
- Keep your trays safe in the small plastic container.
- Clean your teeth as normal.
During the process of whitening:
- During the entire process of whitening, we sometimes advise to change your diet and avoid tooth staining foodstuffs such as tea, coffee, red wine and curry.
- Avoid smoking if possible.
- Maintain good oral hygiene.
- Tooth surfaces close to your gums might take longer to whiten; however, you shouldn’t worry too much. It is completely normal and after few days the effect of whitening should be noticeable on the tooth surface equally.
- You are going to use whitening for 1-2 weeks. It is important to see your dentist after the process of whitening for review.
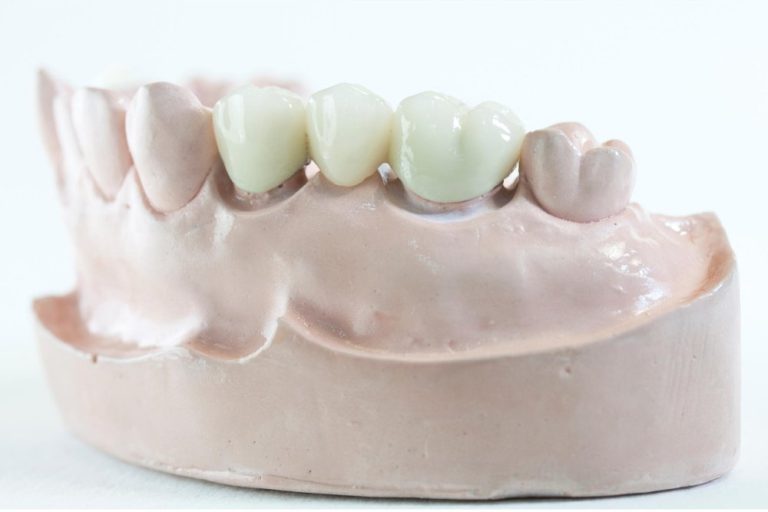
- Remember that you cannot change the colour of existing fillings, crowns, veneers or bridges. It might be necessary to change those for a whiter shade after whitening.
- Mild sensitivity is normal during the whitening process with symptoms disappearing 2-3 days after. However, if you feel that the sensitivity is causing too much discomfort, your dentist will advise ways to reduce this. Sometimes by using the trays on alternate days. If possible, the dentist may provide you with different gels, perhaps with a lower concentration of bleach.
- Before, during and after whitening the dentist may advise you to use specific desensitising toothpastes. It is important not to use any random sensitive toothpaste as this is reduce the effectiveness of tooth whitening.
Check out some of the teeth whitening results we have managed to achieve here at Gentle Dental Care in our Smile Gallery.
Call 020 3925 3846 or fill in our form to enquire about your consultation.
